How to log into my new computer (Windows 11 with Microsoft Entra)
Video
Introduction
This article will guide you through the steps of logging in to your new Windows 11 computer for the first time. Windows 11 is a cloud-based operating system that integrates with Microsoft Entra ID, a single sign-on (SSO) service that allows you to access various Microsoft and third-party apps and resources with one account.
As always, if you need assistance please reach out to BMIT.
- Chat - 🔗 Link
- Phone - 📱 (800) 899-3195 and press 1 for support
- Email - 📧 support@bostonmit.com

Your work email address and password will be used as your login information for your computer.

You can use your Microsoft Entra ID (work email and password) to log into any company owned computers. This is helpful if you need to use another company owned computer while yours is out of service or unavailable to you.
Prerequisites
Before you begin, make sure you have the following:
- Your Windows 11 device that has been setup by Boston Managed IT.
- Your Entra ID (work email address and password). If you're a new employee your temporary password will be HappyFirstDay!
- Your mobile phone with Microsoft Authenticator installed (Download link: https://www.microsoft.com/en-us/security/mobile-authenticator-app)
- An internet connection. When logging into your device for the first time, your computer will need to be able to connect to the cloud to verify your credentials.
Logging into your computer
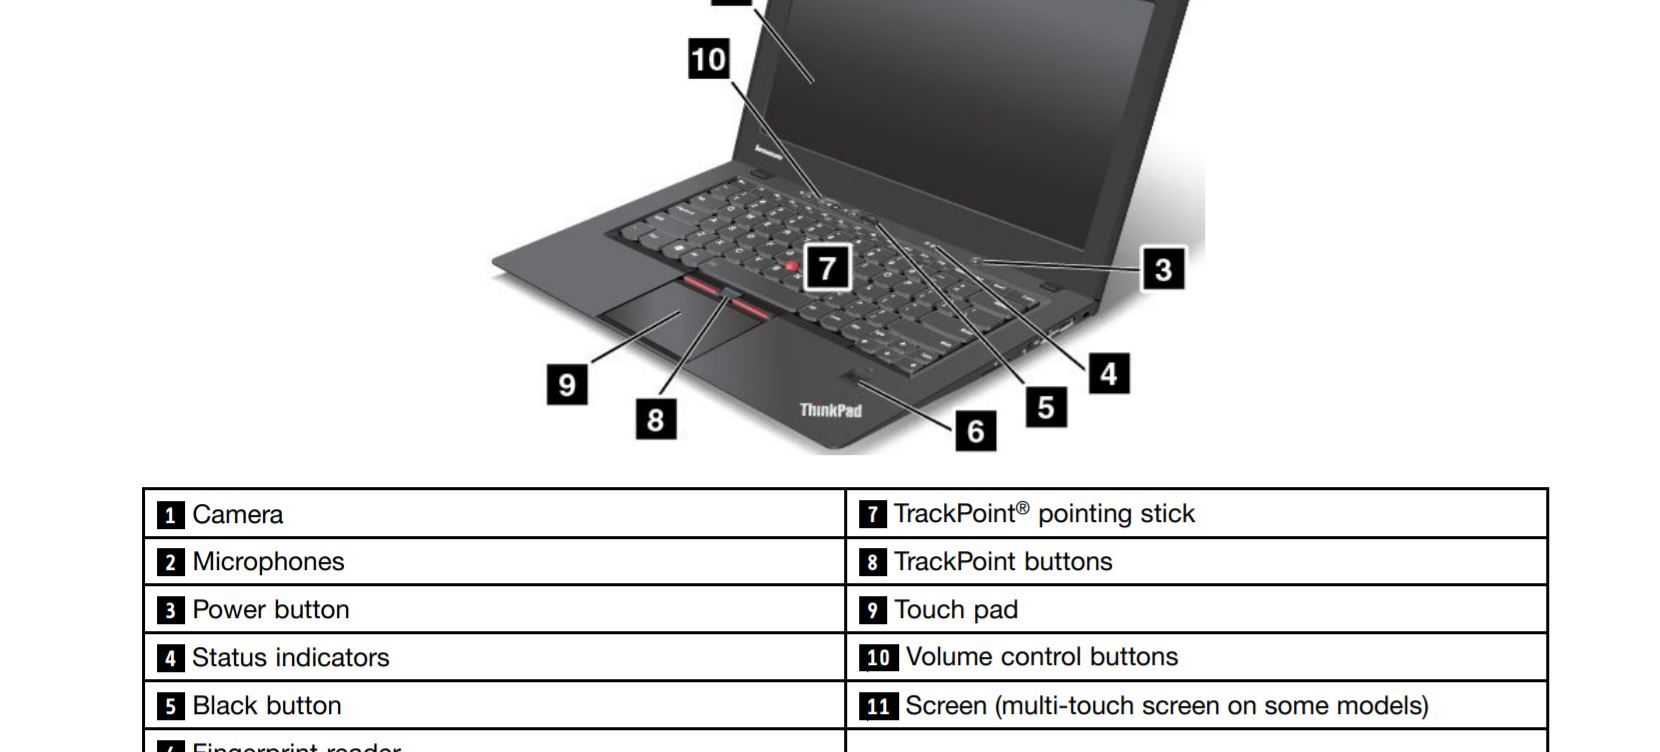
Step 1: Power on the computer.

Power buttons will vary by make and model. If you need assistance finding your power button, please contact BMIT.

Step 2: Make sure you are connected to the internet.

In the bottom right corner of the login screen, click on the networking icon. Select your WIFI network (SSID) and enter the network password (PSK).
 Select your WIFI network (SSID) and enter the network password (PSK).
Step 3: Logging in.
Now that your computer is powered on and connected to the internet, let's log in.

When you get to the login screen for the first time, you may see a logged in user (BMIT). This is the account that the BMIT technician used to setup and update your computer. You may need to select OTHER USER in the bottom right corner before moving forward.
Type your work Email Address in the Email Address box.
Next, type your Password in the password box. (if you're a new employee, your temp password will be HappyFirstDay!)

Press enter, or click the arrow icon (🡢) located on the right side of the password box.
Step 4: Changing your temporary password & setup MFA.

If this is a replacement computer, or you have already changed your password you can skip this step.
After logging in, you will be asked to enter your temporary password once again.
Next, you will see a window informing you that More information is required. Please press Next.
In the next window you will see a box that says Keep your account secure. Please enter the required information (You may need the Windows Authenticator app) or you can use SMS. This will set up MFA.

Please note that SMS is being deprecated.
Once you've finished setting up MFA, please click done.
Next, we will pick a new password for your account. In the first box, please enter your current password (this is your temporary password.) In the second box, please enter your new password. Finally, in the third box, please confirm your new password.
Step 5: Set up a PIN
On the next screen, you should see a window asking you to set up a PIN.

Please note that every computer you sign into will require a PIN. A PIN needs to be 6 digits. A PIN is not the same as your password.
At this point, you should be at the desktop.
Related Articles
Install Windows from a USB Flash Drive
This topic covers how to manually create a Windows installation USB drive from Windows installation ISO disc image file or DVD, and is intended for PC manufacturers looking into creating media that they can use to manufacture Windows devices. The ...Fix Wi-Fi connection issues in Windows
Troubleshooting network problems in Windows Things to try first Try these things first to help you fix or narrow down the connection problem. Make sure Wi‑Fi is turned on. Select the "No internet connection" icon on the right side of the taskbar, and ...How to connect L2TP/IPsec VPN on Windows 10
To setup the L2TP VPN connection on Windows you don’t need to install clients. We can use the built-in VPN client. 1. Open Start and type VPN and select VPN Settings 2. Click Add VPN 3. Select Windows (built-in) as VPN provider 4. Enter a connection ...Prevent Washed-Out Screenshots on HDR Monitors
Prevent Washed-Out Screenshots on HDR Monitors Overview When using High Dynamic Range (HDR) on Windows 11—particularly with OLED displays—users may notice that screenshots appear washed out or overexposed. This issue is common when using built-in ...Fix Network driver issue preventing VPN connection
Step 1: Press the Windows key + X together on your keyboard and select Device Manager from the context menu. Step 2: In the Device Manager window, scroll down and expand Network adapters. Now, right-click on WAN Miniport (SSTP) and ...